Okta Authentication
This guide walks through how to set up Okta authentication for your domain.
Okta authentication is enabled at the domain level. That means that once Okta login is enabled for mydomain.com, any user that attempts to sign in with an email on that domain (name@mydomain.com) will be prompted to authenticate using Okta.
Enabling Okta for a domain will apply to all emails at that domain, including dev accounts and name+text@mydomain.com type emails.
Users will need accounts with both Medplum and Okta to enable access. Medplum accounts are not automatically provisioned for Okta users.
Okta authentication requires an Enterprise account. If self-hosting, setting it up requires super admin privileges.
Set up Okta
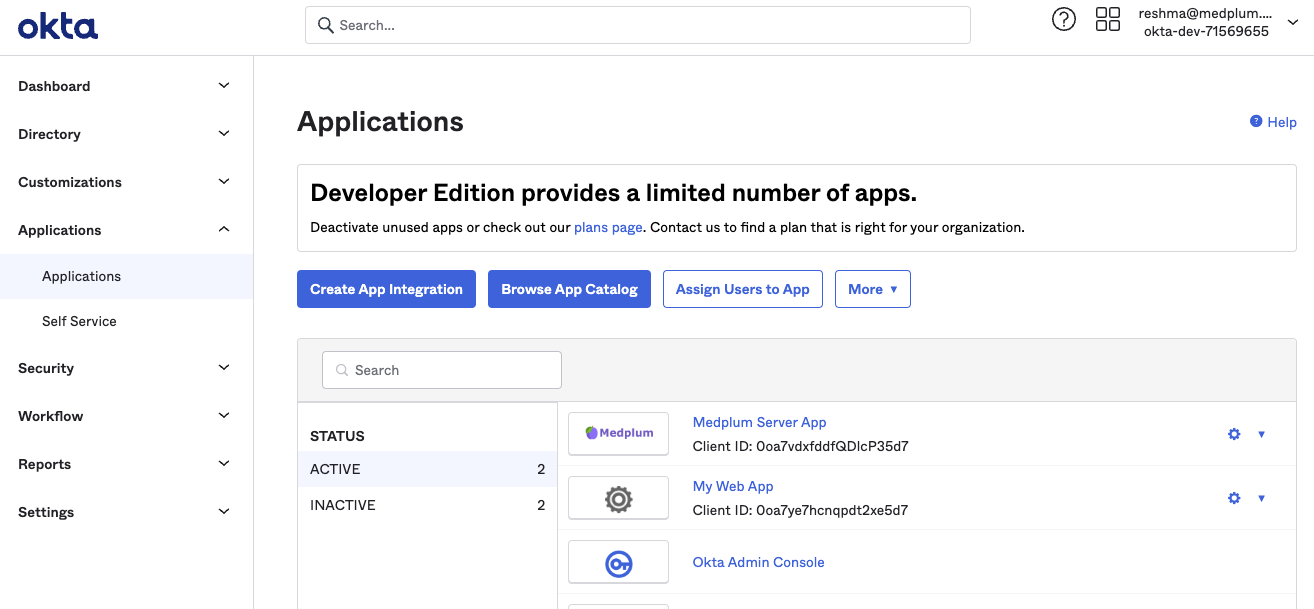
Enabling Okta requires configuration on the Okta side and the Medplum side. You will need to be an Okta admin to set up a App Integration on Okta.
Click on "Create App Integration"
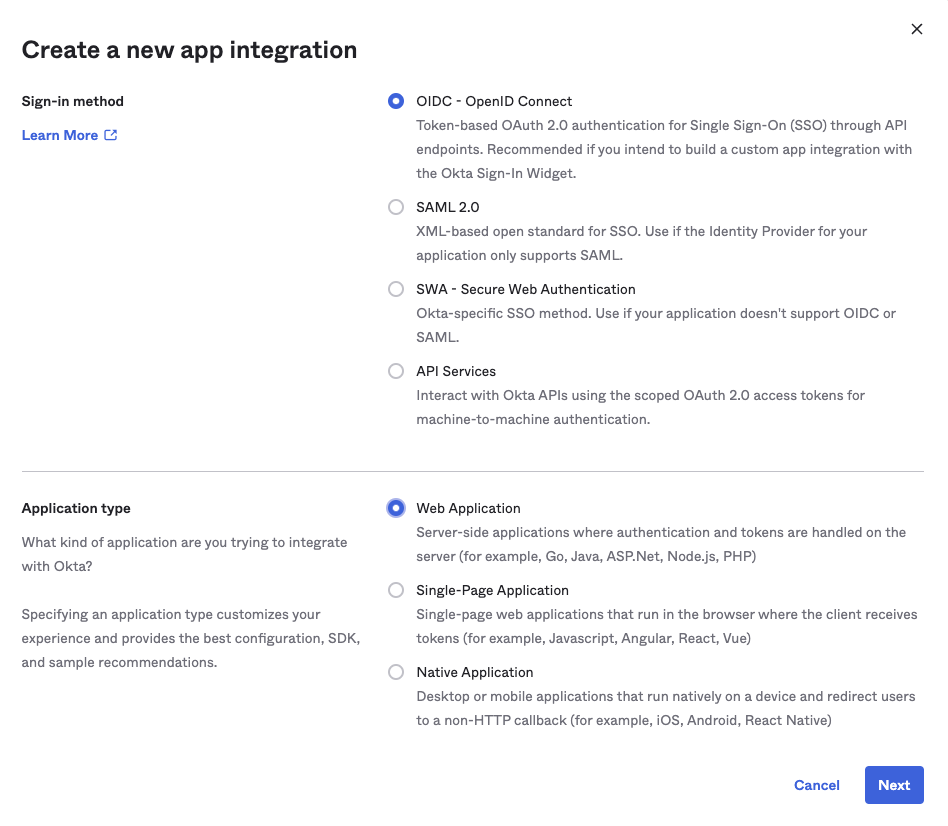
When prompted, choose "OIDC - OpenID Connect" and "Web Application". Click "Next".
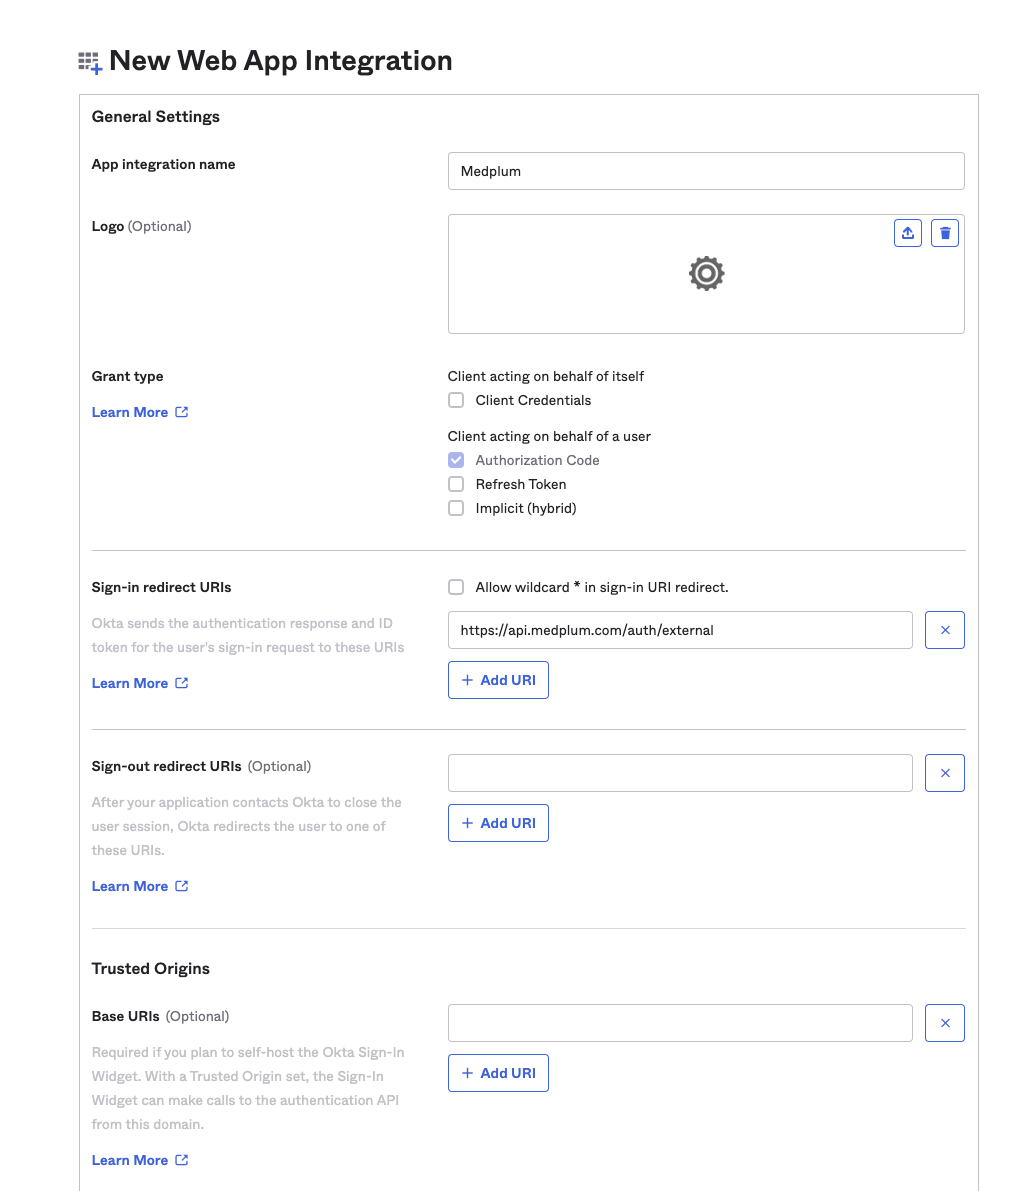
Use the following settings:
- App integration name: Choose your preferred name, or "Medplum"
- Grant Type
- Client Credentials - unchecked
- Authorization Code - checked
- Refresh Token - unchecked
- Implicit (hybrid) - unchecked
- Sign-in redirect URIs
- Allow wildcard - unchecked
- Callback URL - "{apiServerBaseUrl}/auth/external"
- For example:
- Medplum hosted apiServerBaseUrl is "https://api.medplum.com"
- So the callback URL is "https://api.medplum.com/auth/external"
- For example:
- Sign-out redirect URIs: Leave blank
- Trusted Origins: Leave blank
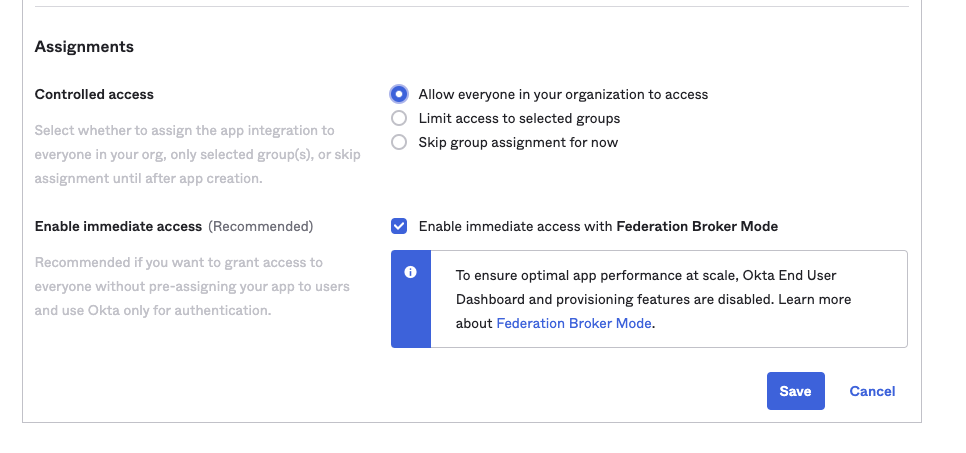
Scroll down to the Assignments section:
- Assignments
- Controlled access
- Choose the level appropriate for your organization
- We recommend "Allow everyone in your organization to access" as a an account on Medplum is still required to be able to access
- Enable immediate access - checked
- Controlled access
Then click "Save".
On the next page, note the "Client ID" and "Client Secret", take note of those - they will be needed for the Medplum set up.
Set up Medplum
To configure Okta as an external authentication provider, you will need 5 pieces of data:
- Authorize URL
- Token URL
- UserInfo URL
- Client ID
- Client Secret
Okta uses separate domains per organization. You will need your organization's Okta server. This is called the Okta "baseUrl". You can find it in the top-left menu of the Okta admin panel by clicking on your name when logged in.
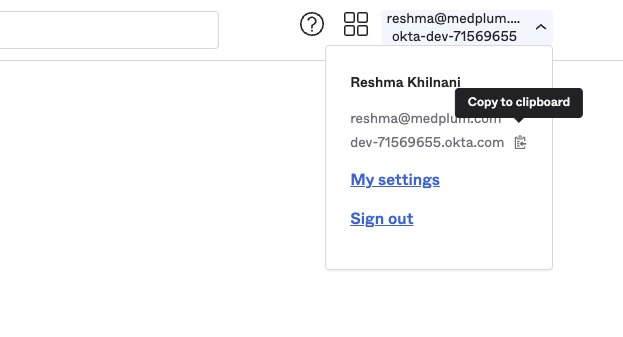
The "baseUrl" could look something like this dev-71569655.okta.com or could be a named subdomain like mydomain.okta.com. Once you have obtained it, construct the Authorize, Token and UserInfo URLs as follows:
- Authorize URL = ${baseUrl}/v1/authorize (e.g., "https://dev-71569655.okta.com/ oauth2/v1/authorize")
- Token URL = ${baseUrl}/oauth2/v1/token (e.g., "https://dev-71569655.okta.com/oauth2/v1/token")
- UserInfo URL = ${baseUrl}/oauth2/v1/userinfo (e.g., "https://dev-71569655.okta.com/oauth2/v1/userinfo")
Client ID and Client secret will be the same as those obtained at the end of the previous section.
Configuring a domain authentication requires a Medplum team member, contact us at hello@medplum.com to enable. For those self-hosting, setup below requires super admin privileges.
Create a DomainConfiguration resource with the 5 elements above and save. Once the resource has been saved, all new authentication requests from that domain will use Okta authentication.